Easy Homemade Ribbon Pasta from Scratch
For years, dry, store-bought pasta was a permanent staple in my pantry. It was convenient, quick, and got dinner on the table without any fuss. To me, all pasta tasted identical anyway; a box of penne tasted just like a box of spaghetti, they were simply formed into different shapes. I had absolutely zero interest in spending my free time mixing dough, flouring counters, or rolling out sheets of dough when a one-dollar box from the grocery store did the job just fine. That mindset completely shattered during a vacation to the Bahamas. We were staying at the Atlantis Paradise Island resort and decided to have dinner at an upscale Italian restaurant on the property. My husband ordered a fresh, house-made pasta dish, while I stuck to my usual choice. When his plate arrived, he insisted I take a single bite.
That one forkful changed everything. The flavor and the texture completely bombarded my senses. It wasn’t just a different shape; it was a completely different food. It was silky, incredibly tender, yet had a perfect, satisfying bite that no boxed pasta could ever replicate. Right then and there, sitting at the table, I told myself I had to figure out how to recreate this magic at home. This recipe is the result of that obsession. It strips away the intimidation of making pasta from scratch by using a quick blender method to get the dough together in minutes.
The Step-by-Step Cooking Guide
Step 1: Place the all-purpose flour, eggs, and egg yolk directly into your blender. Pulse the mixture in short bursts. Do not let the blender run continuously for a long time, as you do not want to overheat the blender. Keep using intermittent pulses until the eggs and flour combine and a cohesive dough begins to form.
Step 2: Pour the dough out onto a clean, flat work surface. If the mixture feels a bit sticky, dust a small amount of extra flour onto the surface. Knead the dough vigorously by hand. Continue pressing and folding until the texture transforms from shaggy to completely smooth, elastic, and satiny.
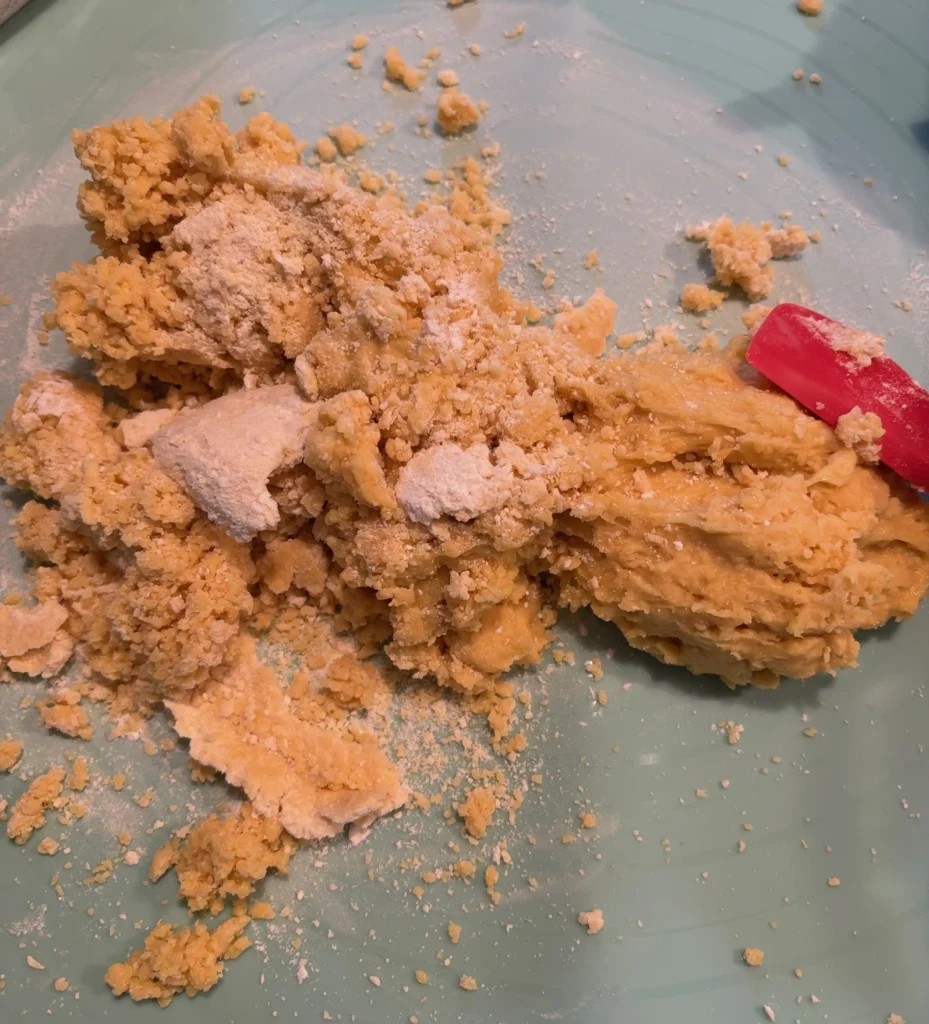
Step 3: Tightly wrap the smooth ball of dough in plastic wrap. Place it into the refrigerator to rest. This step relaxes the gluten, which makes the dough significantly easier to roll out later without it snapping back.
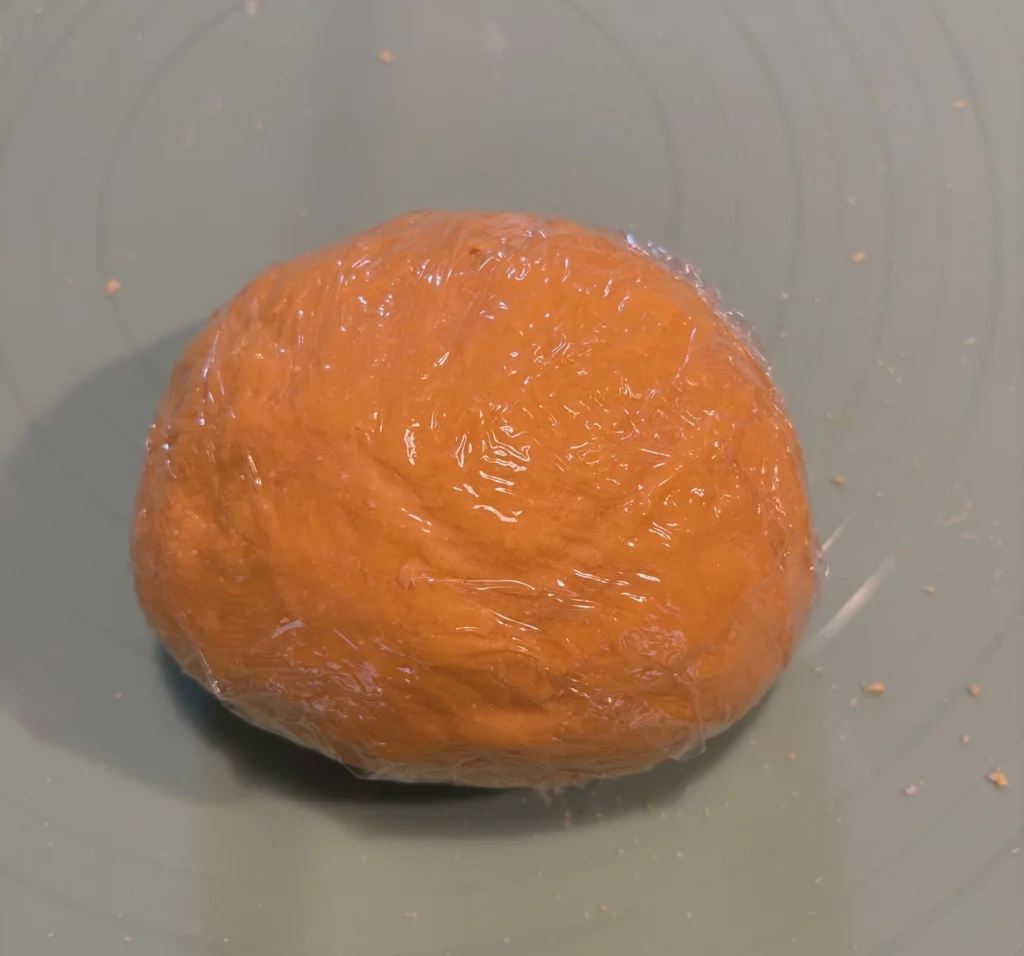
Step 4: Remove the rested dough from the refrigerator and place it onto a lightly floured surface. Cut the dough evenly into four quarters. Roll each quarter into a small ball, then use the palm of your hand to press it down as flat as possible before introducing it to the machine.
Step 5: Set your pasta maker to Level 0 (the widest setting). Pass one of your flattened dough portions through the rollers. Fold the resulting sheet in half, dust it lightly with flour, and run it through Level 0 again. Repeat this folding and rolling process a few times until a clean, uniform rectangle shape is nicely formed.
Step 6: Gradually roll your pasta sheet through the machine, dropping down one level at a time (from Level up 1 through Level 8). Make sure to dust the sheet lightly with flour if it starts to feel sticky at any point. Stopping at Level 8 yields the ideal, silky thickness for ribbon pasta. Repeat this entire rolling process for the remaining three quarters of dough.
Step 7: Take your long pasta sheets and cut them in half crosswise to create a manageable length for eating. Slice the sheets lengthwise into uniform, thin strands using a pizza cutter, a sharp knife, or your machine’s cutting attachment.
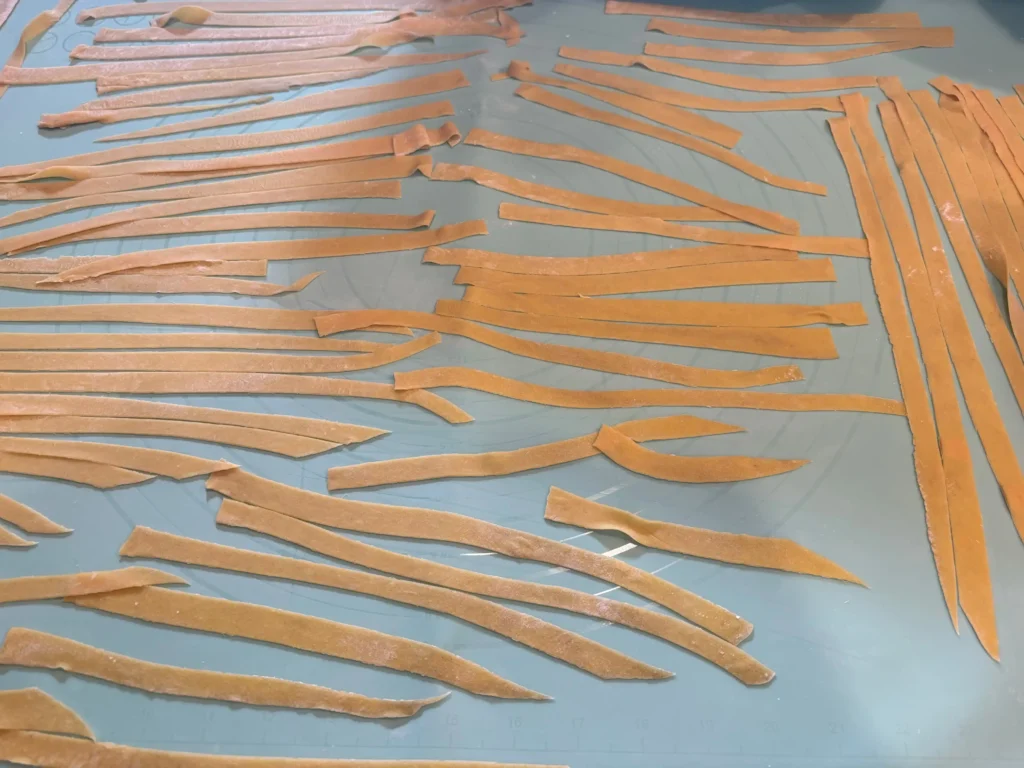
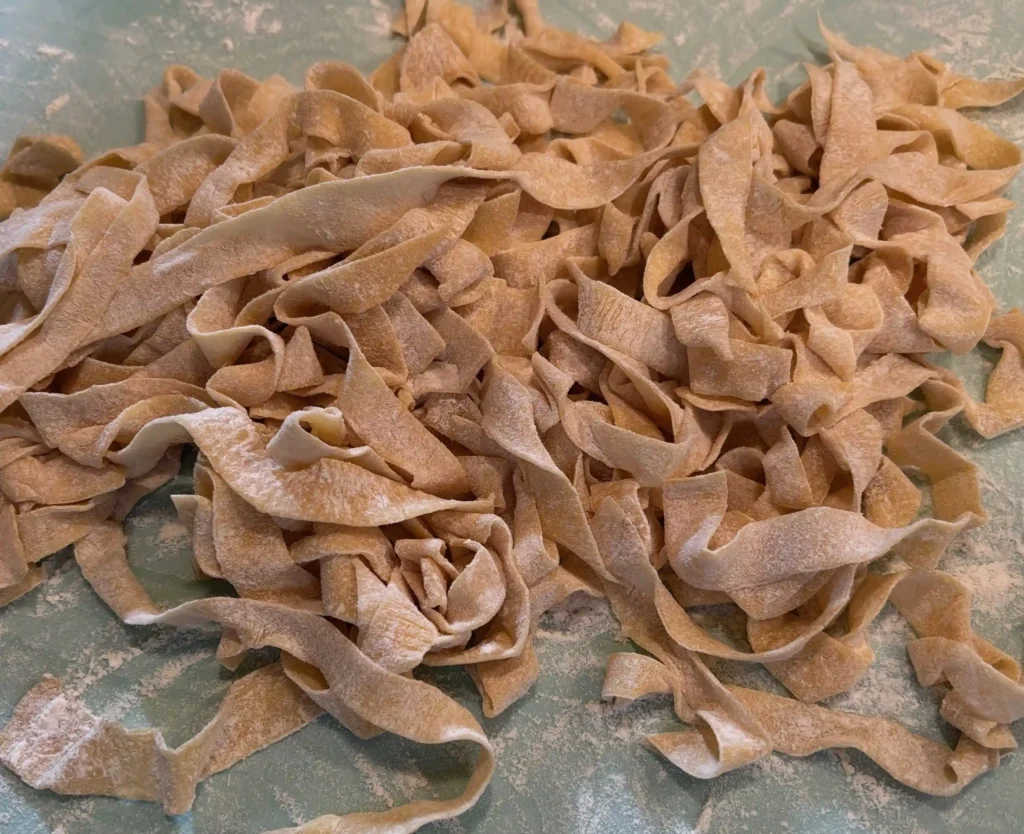
Step 8: Generously dust the freshly cut ribbon strands with flour. Gently toss them with your fingers so the flour coats each strand completely, preventing them from sticking together before they hit the cooking pot.
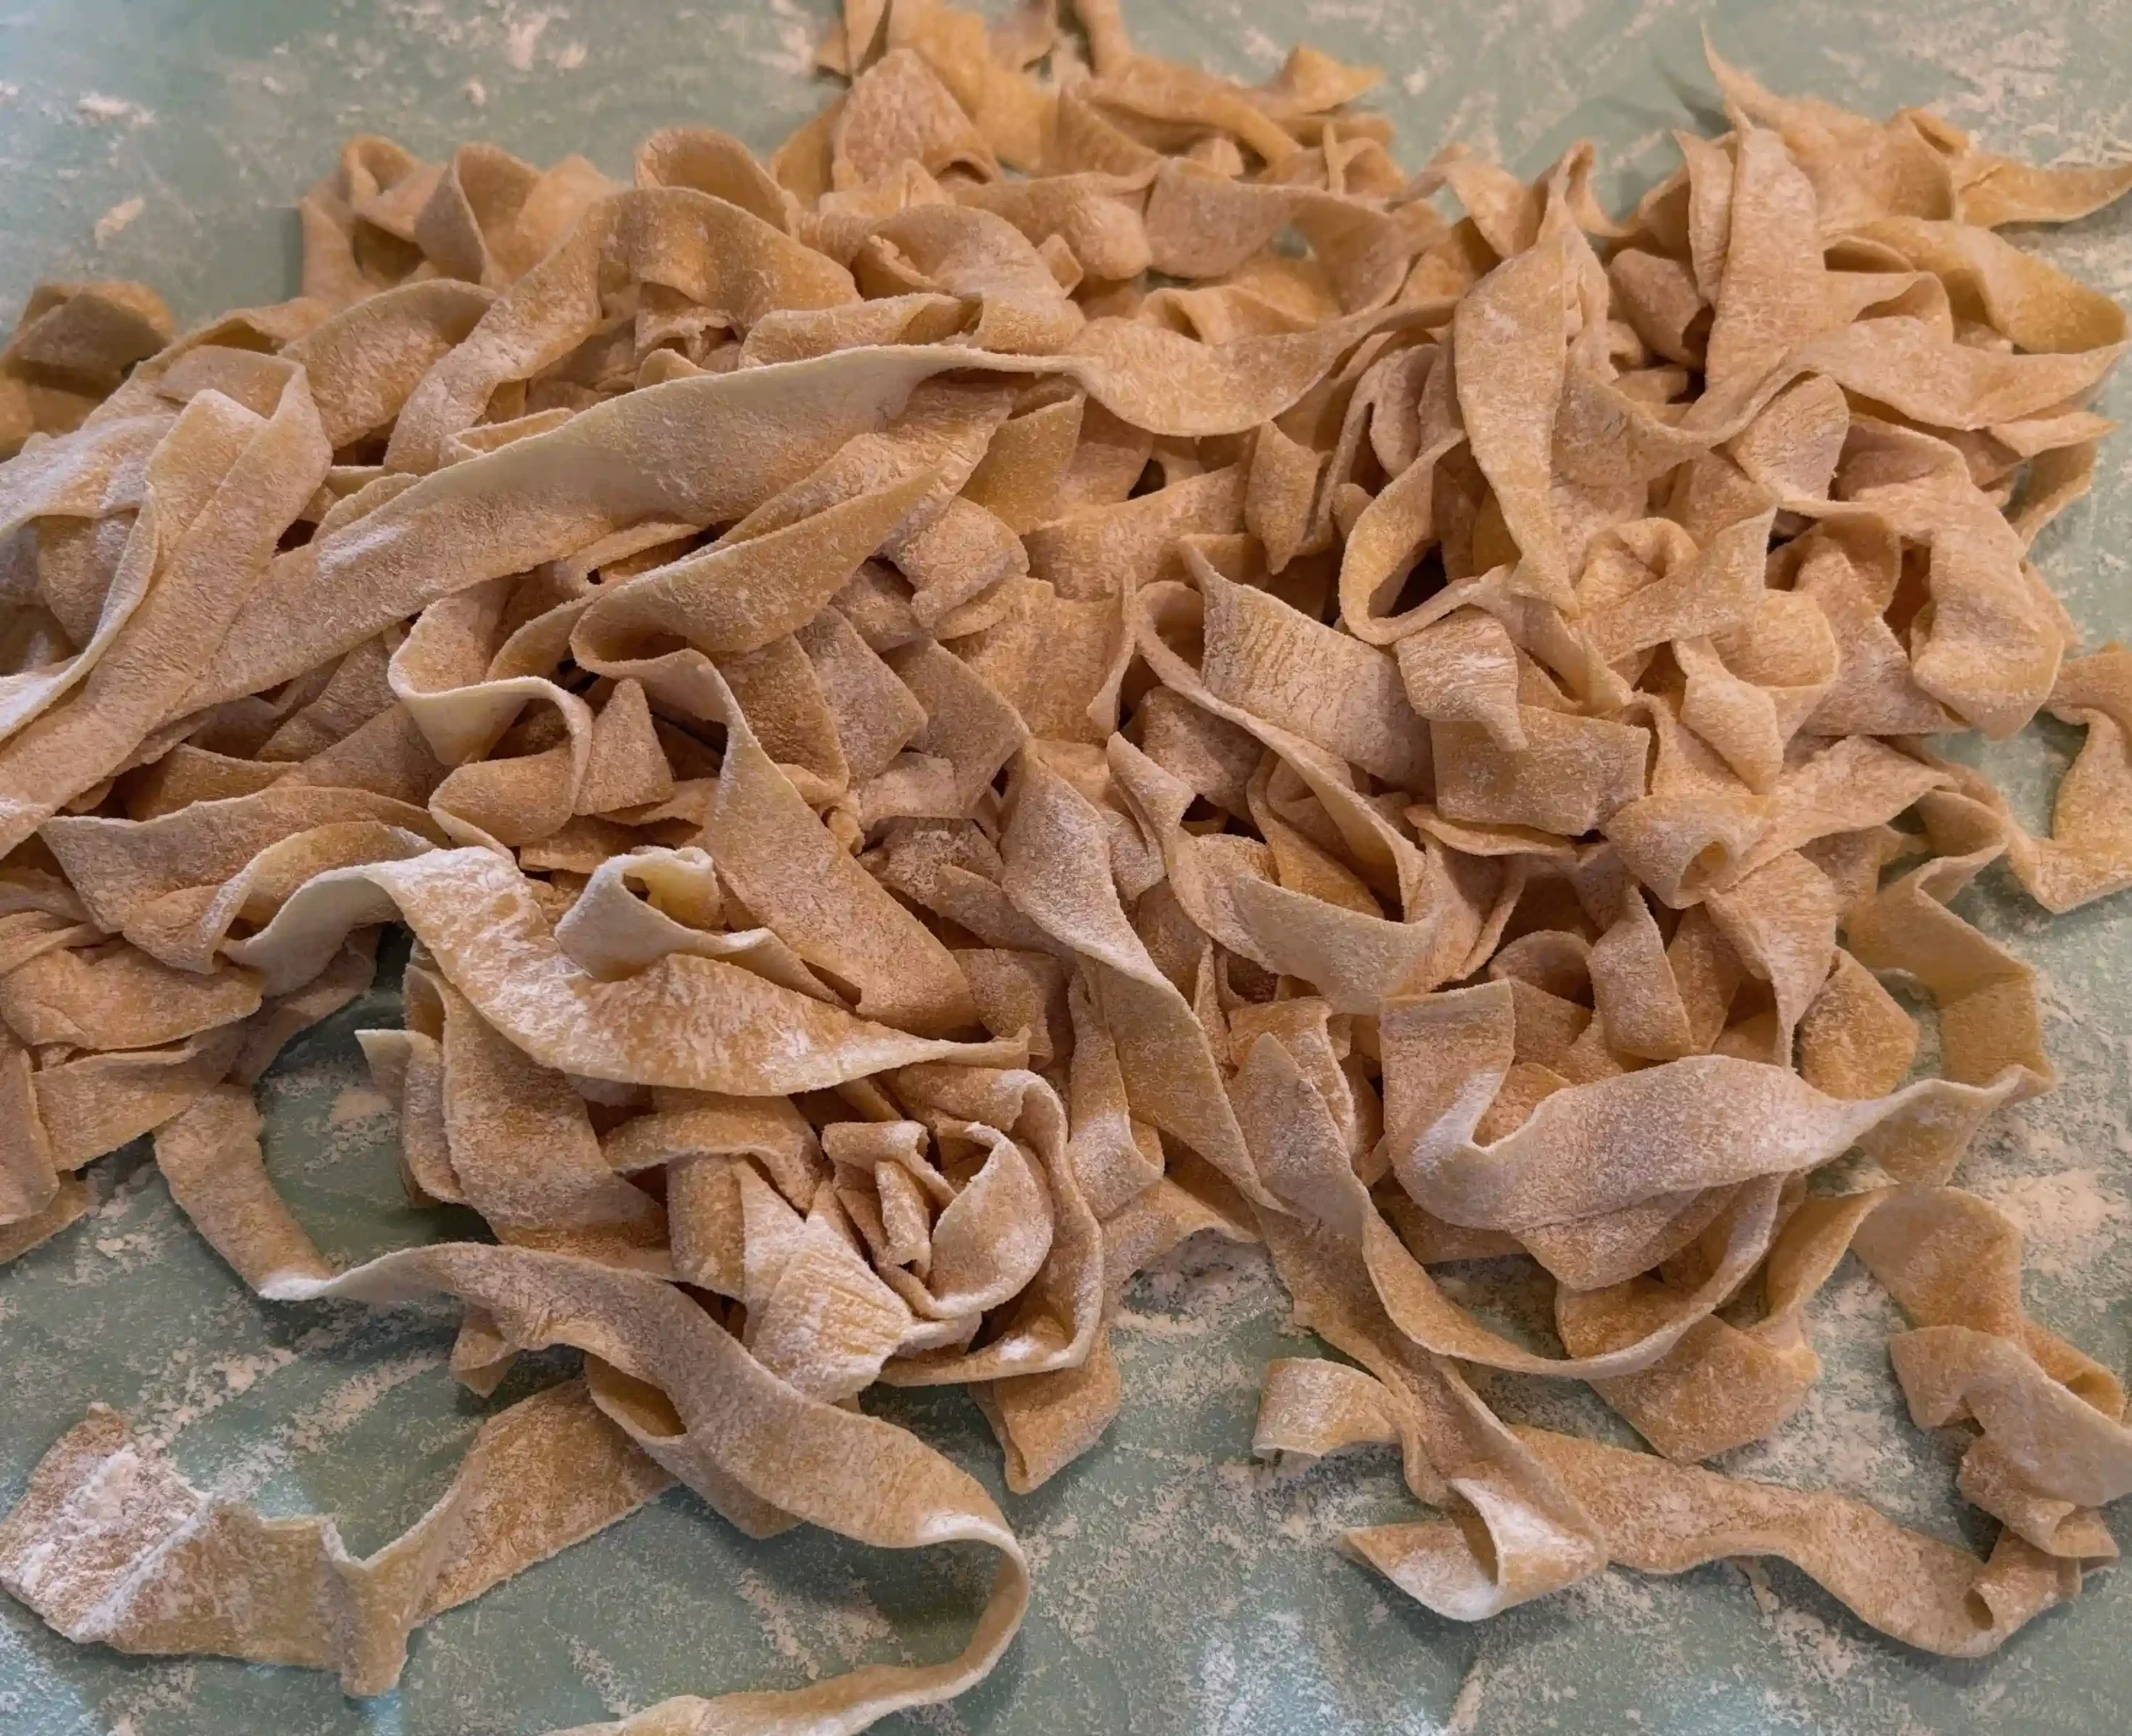
Easy Homemade Ribbon Pasta from Scratch
Ingredients
Equipment
Method
- Place the 2 cups of all-purpose flour, 3 whole eggs, and 1 egg yolk directly into your blender. Pulse the mixture in short bursts. Do not let the blender run continuously for a long time, as you do not want to overheat the ingredients. Keep using intermittent pulses until the eggs and flour combine and a cohesive dough begins to form.
- Pour the dough out onto a clean, flat work surface. If the mixture feels a bit sticky, dust a small amount of extra flour onto the surface. Knead the dough vigorously by hand. Continue pressing and folding until the texture transforms from shaggy to completely smooth, elastic, and satiny. About 4-5 minutes.
- Tightly wrap the smooth ball of dough in plastic wrap. Place it into the refrigerator to rest for at least 30 minutes. This step relaxes the gluten, which makes the dough significantly easier to roll out later without it snapping back.
- Remove the rested dough from the refrigerator and place it onto a lightly floured surface. Cut the dough evenly into four quarters. Roll each quarter into a small ball, then use the palm of your hand to press it down as flat as possible before introducing it to the machine.
- Set your pasta maker to Level 0 (the widest setting). Pass one of your flattened dough portions through the rollers. Fold the resulting sheet in half, dust it lightly with flour, and run it through level 0 again. Repeat this folding and rolling process a few times until a clean uniform rectangle shape is nicely formed.
- Gradually roll your pasta sheet through the machine, dropping down one level at a time (from Level 1 up through Level 8). Make sure to dust the sheet lightly with flour if it starts to feel sticky at any point. Stopping at Level 8 yields the ideal, silky thickness for ribbon pasta. Repeat this entire rolling process for the remaining three quarters of dough.
- Take your long pasta sheets and cut them in half crosswise to create a manageable length for eating. Slice the sheets lengthwise into uniform, thin strands using a pizza cutter, a sharp knife, or your machine's cutting attachment.
- Generously dust the freshly cut ribbon strands with flour. Gently toss them with your fingers so the flour coats each strand completely, preventing them from sticking together before they hit the cooking pot.